 Loading... Please wait...
Categories
Aprilaire 4040 Solenoid Replacement
Posted by Aprilaire on 9th Dec 2016
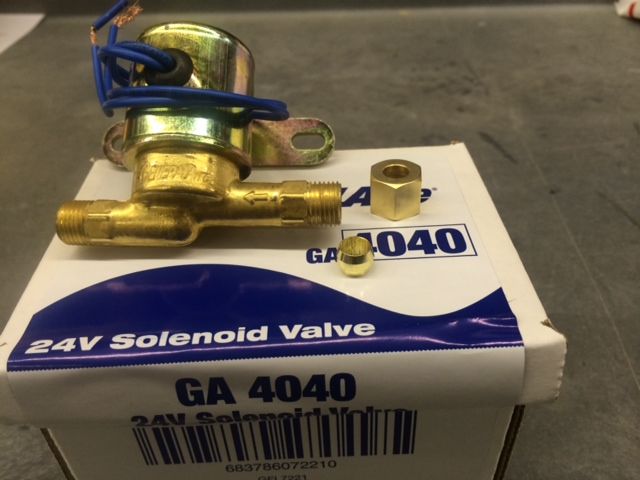
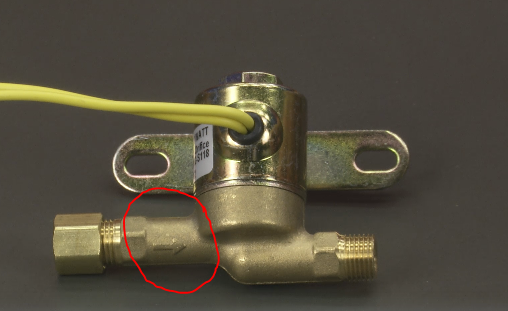
Below is the Aprilaire 4040 solenoid valve. It’s a 24 volt electrically-operated valve that turns the water on and off to your humidifier. It does not regulate the volume or amount of water- that is done by a separate item called the orifice.
Preinstalled inside of this valve, in this brass section here, is a strainer screen. That is used to filter the water before it gets in the valve, and catch things like sand and dirt which might plug up the valve. Now, this valve needs to be replaced roughly every ten years, more often if it fails, stuck open or closed.
Prior to performing any replacement, check the condition of all components, like the wires, tubes and lines looking for any discoloration, buildup, odd smells or other signs that something could be wrong. If you see something amiss, STOP and call your licensed tech. After notifying him or her, turn off all power and water to your unit and follow any additional instructions your tech gives you.
Replacement is easy. Here’s how:
Part 1
The first step is to locate the arrow found on the solenoid valve that is currently installed in your unit, write this down and remember that the arrow should be pointed towards the feed tube. When doing this, also note where the wires are connected.
Your solenoid should look similar to the one below:
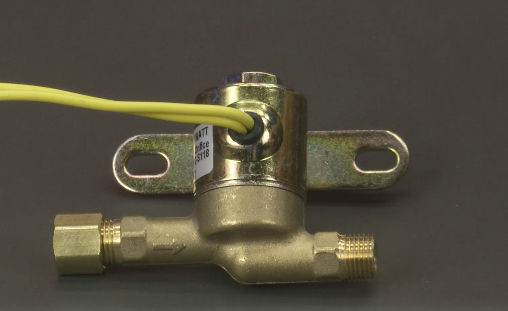
The arrow has been circled in RED below:
Step 2
Turn off the power before performing any maintenance..
Step 3
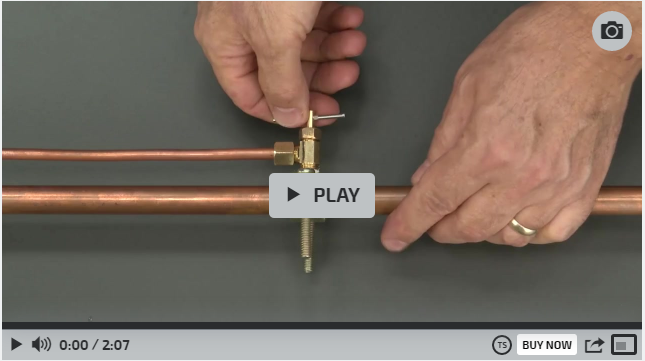
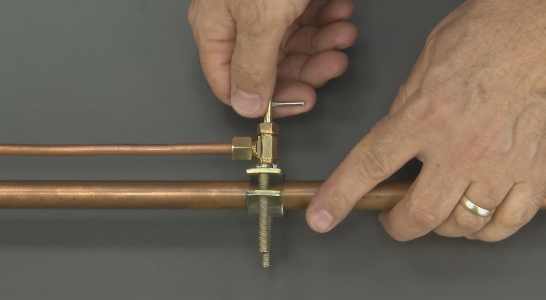
Shut off the water. You can do this by finding the saddle valve and turning it clockwise until it stops. Pictured below is a saddle valve.
Step 4
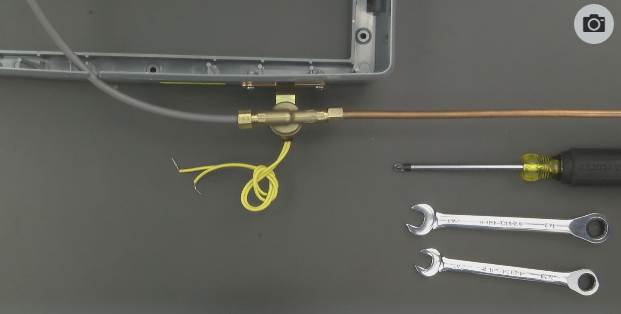
Gather the following tools:
- 1/2" Wrench
- 7/16" Wrench
- Phillips head screwdriver
Once you have your tools, double check that the water is turned off and the electrical is disconnected.
Now it's time to remove the solenoid valve.
Step 5
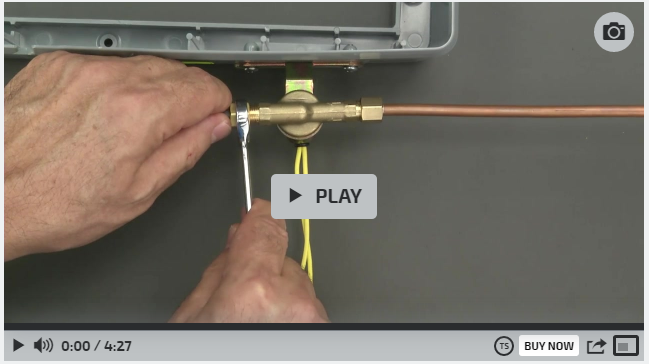
First thing we’ll do is loosen up the pipes.
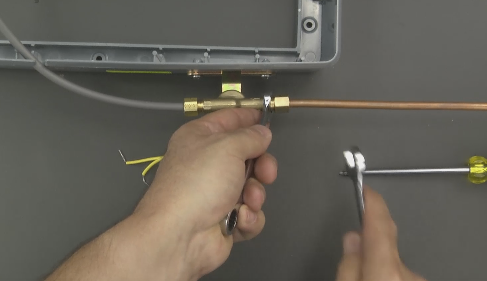
Then remove the pipes.
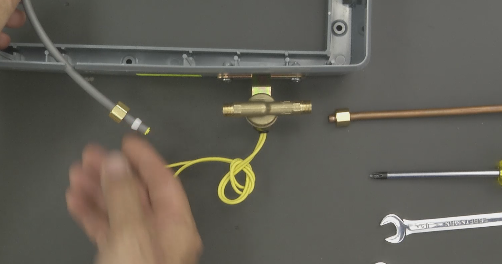
Step 6
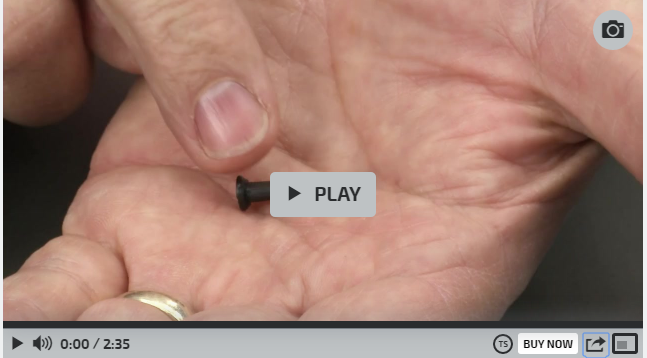
Now we’ll remove the mounting. This is done by unscrewing the two mounting screws.
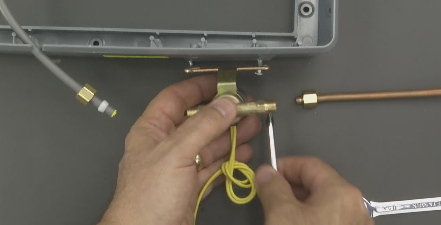
Don't forget to write down-or take a photo-of which direction the arrow is pointing!
Now it's time to begin Part 2: Installing the New Valve
It’s important that the arrow be pointing towards the feed tube. That’s the direction of the water flow.
Step 1
Let’s mount it to the unit first. Make sure to tighten up the screws.
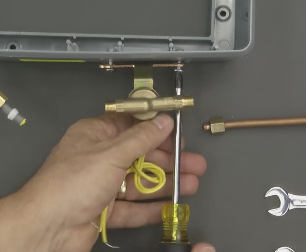
Step 2
Now we’re ready to connect the water lines.
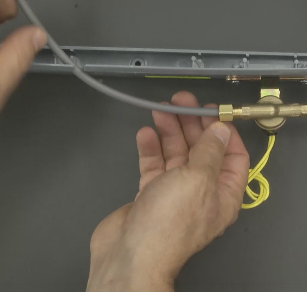
Here’s the water inlet line. Make it hand-tight.
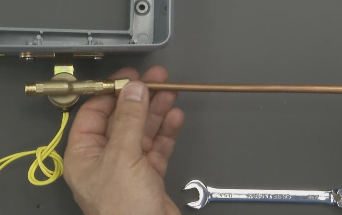
And the feed tube. Make it hand-tight as well.
Step 3
Now let’s snug them up.
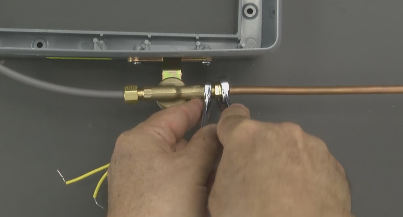
Now the only thing remaining is to connect the electrical.
If you encounter problems, please watch these other videos for assistance:
Aprilaire Strainer Screen
Aprilaire Feed Tube Assembly
Water Leakage
Aprilaire Orifice Basics
All information above is owned by and created by Aprilaire. Climatedoctors is not responsible for the content or advise contained above.

